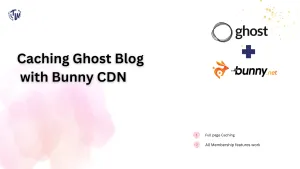
Hi, welcome to The TechWeirdo. In this post, I am going to show you the easiest and the best method to integrate Bunny CDN with your Ghost Blog. In this method you do not need to do any code modifications, subdomain creation, or other complex things. But at the end you will enjoy a performance which will be comparable to Ghost Pro itself. I tested this setup and it easily managed over 17000 page views (un-authenticated) in a minute! So yes your post can go viral but it will be handled easily.
The overview of the plan
Now to achieve this we will be proxying your entire blog through Bunny CDN and not just the static assets. On the CDN we will perform-
Key Benefits:
- Full page caching for all logged out visitors at CDN edges, until you purge.
- Cache bypass for members, maintaining membership features and login functionality. It will only bypass the html and other required URLs.
- Cache Static assets always To maintain fast speed and low server load even for logged in users, we will cache static assets like images or css, js always.
- Storing the cache Permanently using bunny cdn permacache. So that your cache is distributed beforehand accross the globe, even cache misses becomes faster this way.
- Automatic CDN cache purge when your site content is updated.
So essentially your Ghost Blog will enjoy the benefits of a static site, without you changing the way how you publish your blog!
Process of integrating Bunny CDN with Ghost
Here is the detailed step by step process of Bunny CDN integration. For your convenience I have added many visual demomstrations of the process.
Step 1: Create a Bunny CDN account
If you are new to Bunny then Join Bunny CDN here, (you will get a 14-day free trial) after that. They charge 1 dollar/month minimum, but their cost is very cheap (0.01 dollars/GB for North America and Europe). After signup, go to your Bunny dashboard.
Step 2: Create a Storage zone
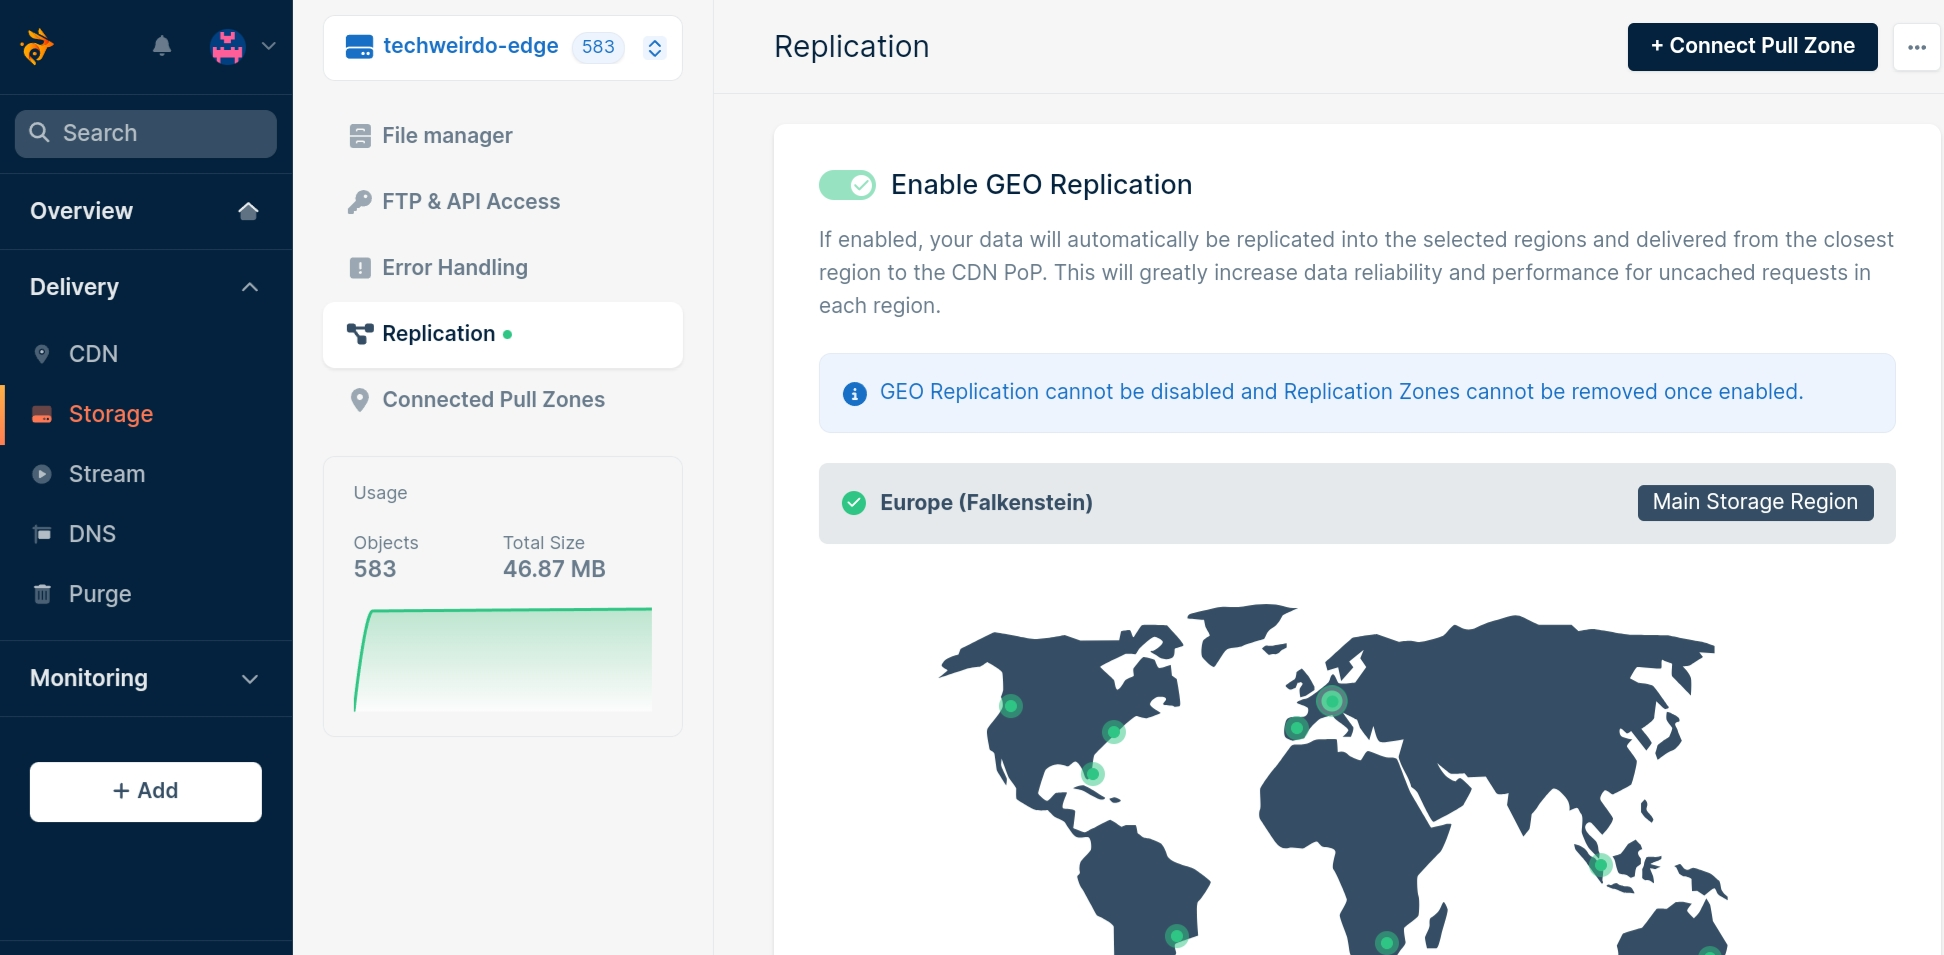
Bunny Cdn has a feature called perma cache. In CDNs traditionally, your cache is only available at the pops which have already served the content. Also after some time your cache gets purged, if not used frequently. And with 100s of PoPs, cache miss is more frequent than you think.
Perma cache auto replicates and stores the cached contents permanently accross the globe at multiple locations to minimize latency even for files that misses CDN cache. To use perma cache first create a storage zone.
First go to Storage on the left sidebar then add storage zone. Choose Edge SSD, hdd is too slow. Then Enable Geo replication and based on your cost and usage pattern, create as many as possible, distrubed accross the globe. For this blog here is how it looks.
Step 3: Creating a Pull Zone
Now, let's create our CDN distribution. To do that visit CDN then Create Pull Zone, give your pullzone a name then put your server IP address. If you put origin server address then put it like http://123.45.67.89 and add Host Header as your blog domain. If you are selfhosting then with this approach you don't need to create a seperate origin subdomain. Choose standard tier and complete pull zone creation.
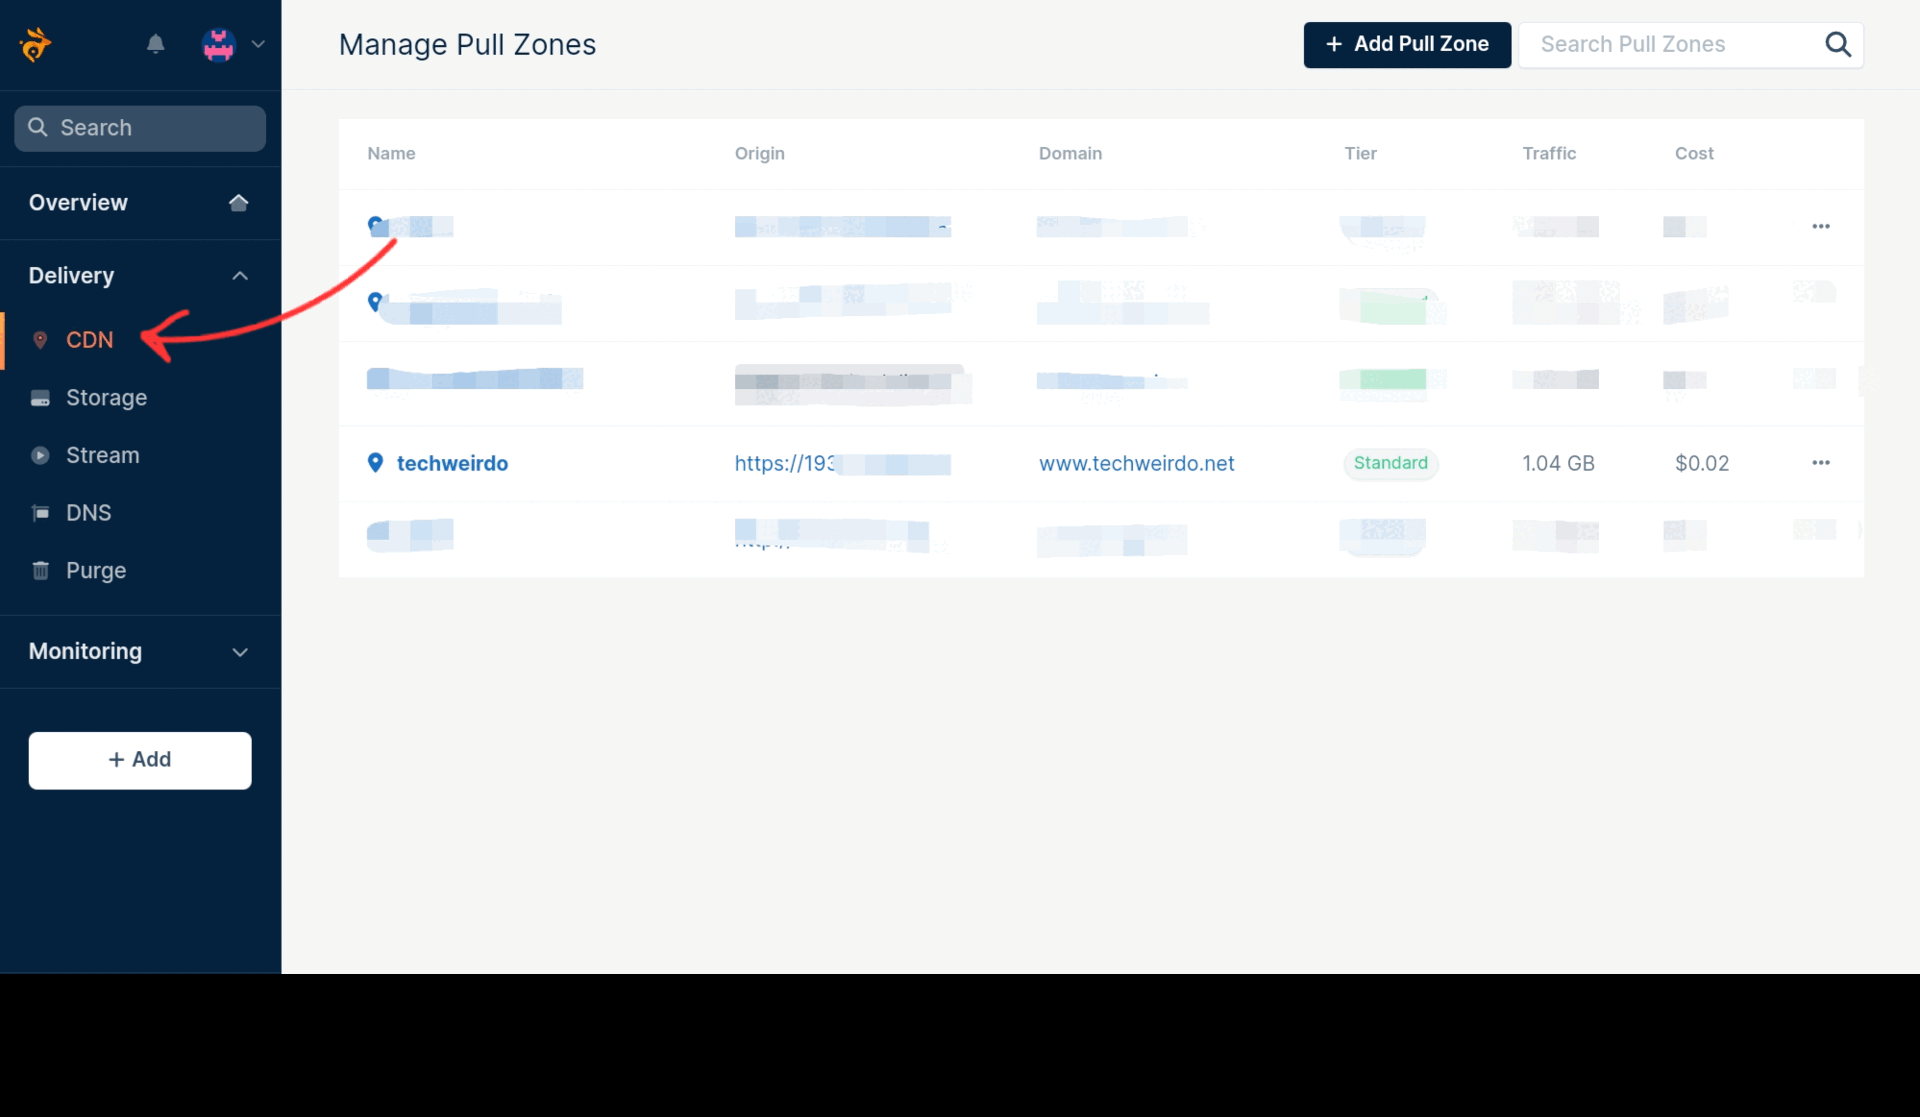
If everything goes well, you will see instructions, skip that.
Step 4: Configuring Cache Behaviour
Now, let's configure cache behaviour for out cdn distribution. We have 3 Goals here - 1. Cache Everything 2. Permacache and 3. Don't set Browser Cache. To do this follow the steps below:
Caching Configuration Instructions
- Go to caching -> Perma-cache and from the drop-down menu select the storage zone you just created.
-
Then go to cache -> general. There:
- ❌ Keep the smart cache OFF.
- ⚙️ Set the browser cache expiration time to "override: do not cache".
- ✅ Turn ON the query string short and cache error response.
- 🔍 In "Vary Cache" select the URL query string.
- ❌ Turn Strip Response cookie OFF.
- ✅ In stale cache, turn ON both origin offline and updating, so that your site works even when the origin is offline.
Here is a step by step illustration for you to follow along. ( Missing the 4th point)

This, now caches everything for everyone, which is not okay. First of all, you don't want to cache the Admin area and second you don't want to cache dynamic contents for members. For that we need to use Edge Rules to modify the cache behaviour.
Step 5: Configuring EDGE rules
There are two scenarios for Ghost blogs, you may or may not have Membership features like signup, commenting etc enabled. If you don't have Membership enabled, then bypassing the Admin area will be enough. But if you have Membership enabled, you need to bypass the html for members while caching all the static contents. To achieve this we need to configure some edge rules.
Bypassing Admin Area Instructions
-
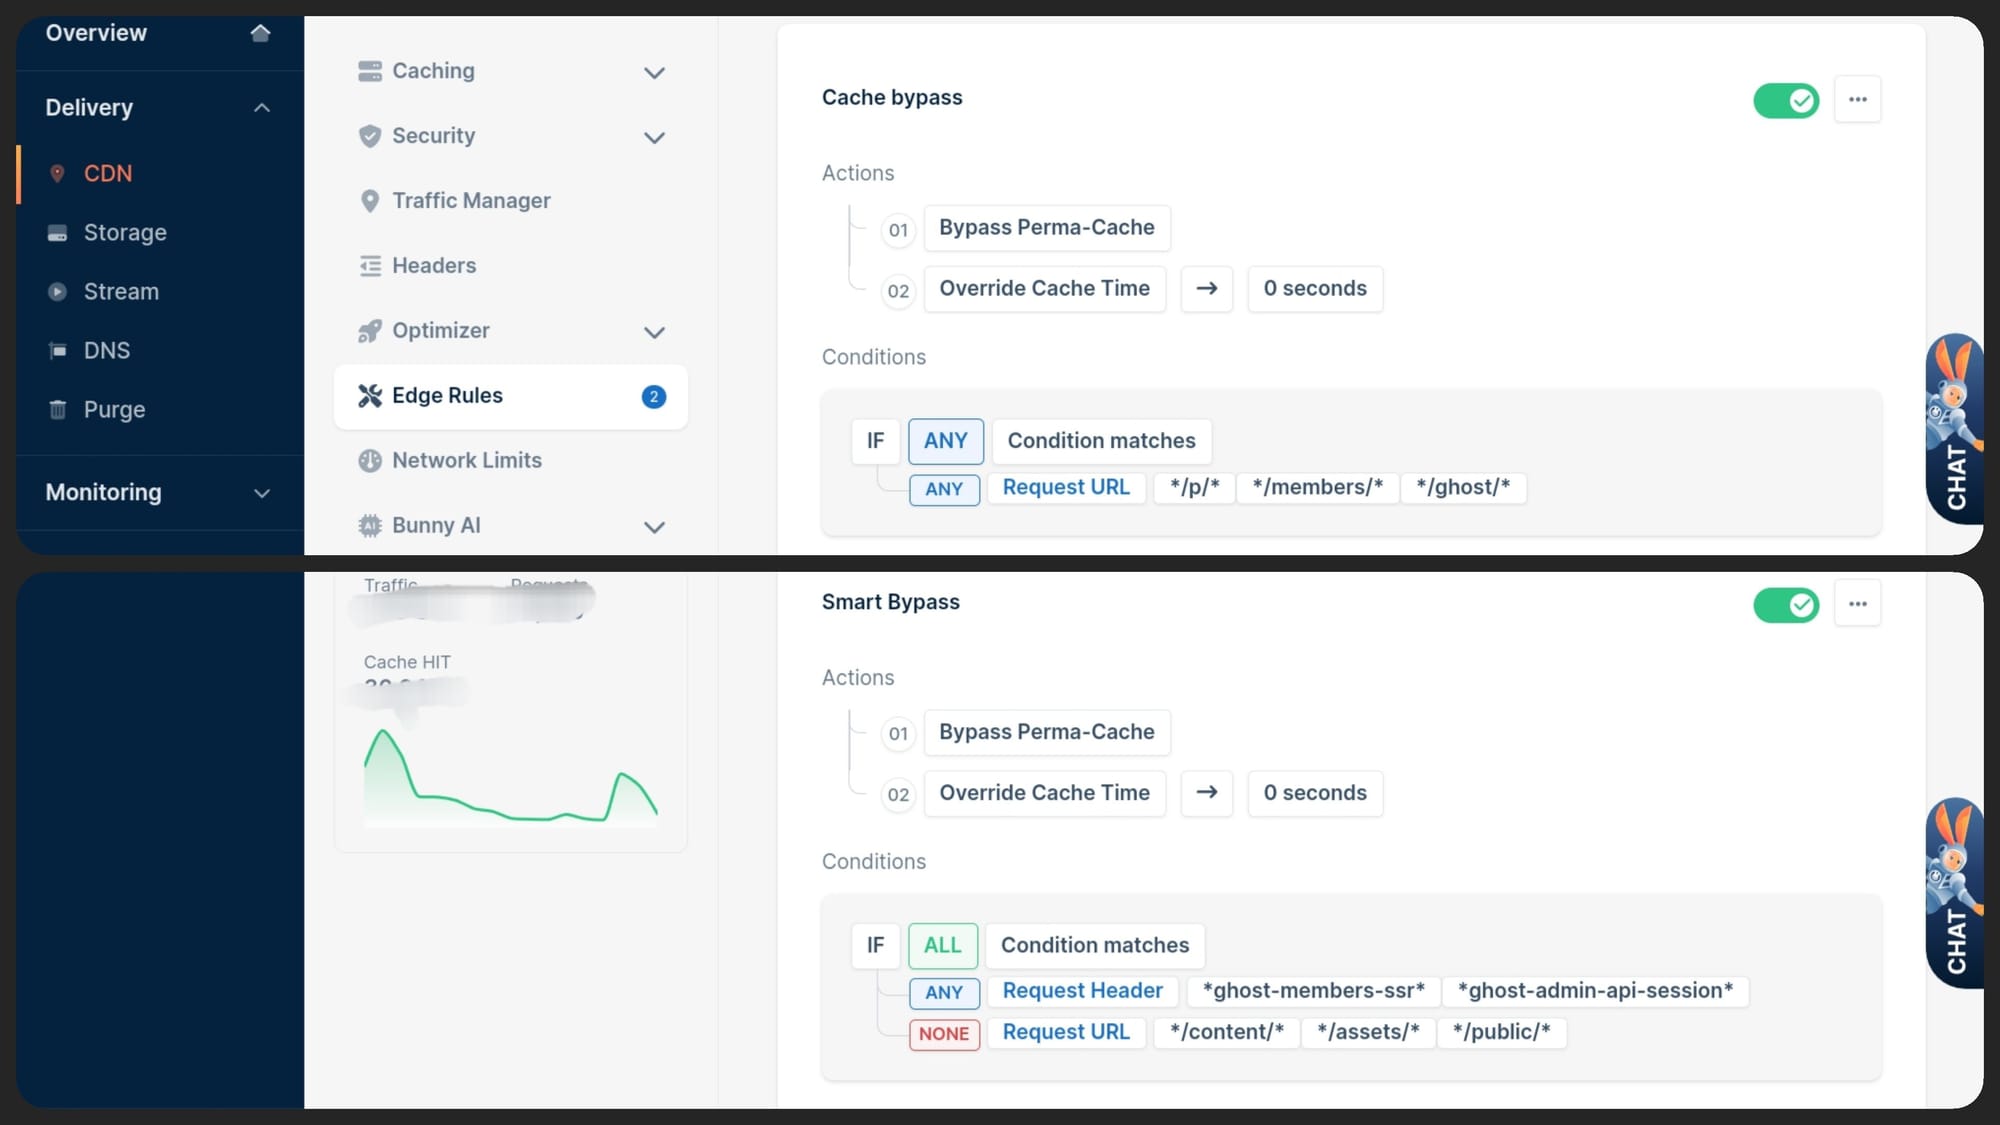
Go to Edge Rules and Add New Rule
- 📝 Give a description, then in action from the drop-down first select "bypass perma-cache"
- ➕ Add action and from the drop-down select "override cache time" and put 0 as the value
-
Then in conditions:
- 🔍 Select "IF" "Match Any" and "Request URL" "Match Any"
-
🔗 Add these 3 URL values as property:
- */ghost/*
- */p/*
- */members/*
-
Add an additional condition:
- 🔍 Select "Match Any", from the drop down menu select "Request Method" and in value put POST
This will bypass cache for all admin-related pages. If you don't have Membership features, you can skip "*/members/*" and the steps in the next box.
Bypassing Cache for Membership Features
-
Add another edge rule
- 📝 Give description
- ➕ Add "bypass-perma-cache"
- ⏱️ Override cache time to 0
-
In the conditions:
- 🔍 Select "IF" and "Match All"
- 📌 From the drop-down select "Request Header" and set to "Match Any"
- 🍪 Set header name "cookie"
-
📄 In property add:
- *ghost-members-ssr*
- *ghost-admin-api-session*
- *ghost-private*
-
Add another condition:
- 🌐 Select "Request URL" and set it to "Match None"
-
🔗 Add these 3 URLs in the property:
- Save the edge rule
If everything goes well your edge rules will show like this
At this point we have successfully created a CDN distribution for our blog and configured the cache rules for it. But we now need to point the traffic to this cdn in our DNS record.
Step 6 Add your blog’s domain name as the custom hostname and Update DNS record
To do this, go to General ( above cache ) and select "Host Name". In the add custom hostname field, add your blog domain, i.e. www.yourblog.com or yourblog.com whichever you are using. You will get a CNAME domain and CNAME value. Copy the CNAME value and go to your DNS provider (usually your domain registrar). Delete your existing DNS record and create a new CNAME records and publish the changes. After that comeback to Bunny Dashboard and verify and active the SSL.
If everything goes well your blog should now be served via bunny cdn and should be cached properly. Verify if everything works properly like, logging in, account management, and commenting etc.
 Shounak Pal
Step 7: Automatically cache purging (optional)
When you update your site or post something new, you can purge the cache in bunny dashboard. But you can also automate that. It does require some additional steps but here is a guide for that. I have set this up using cloudflare workers.

Let's see some results
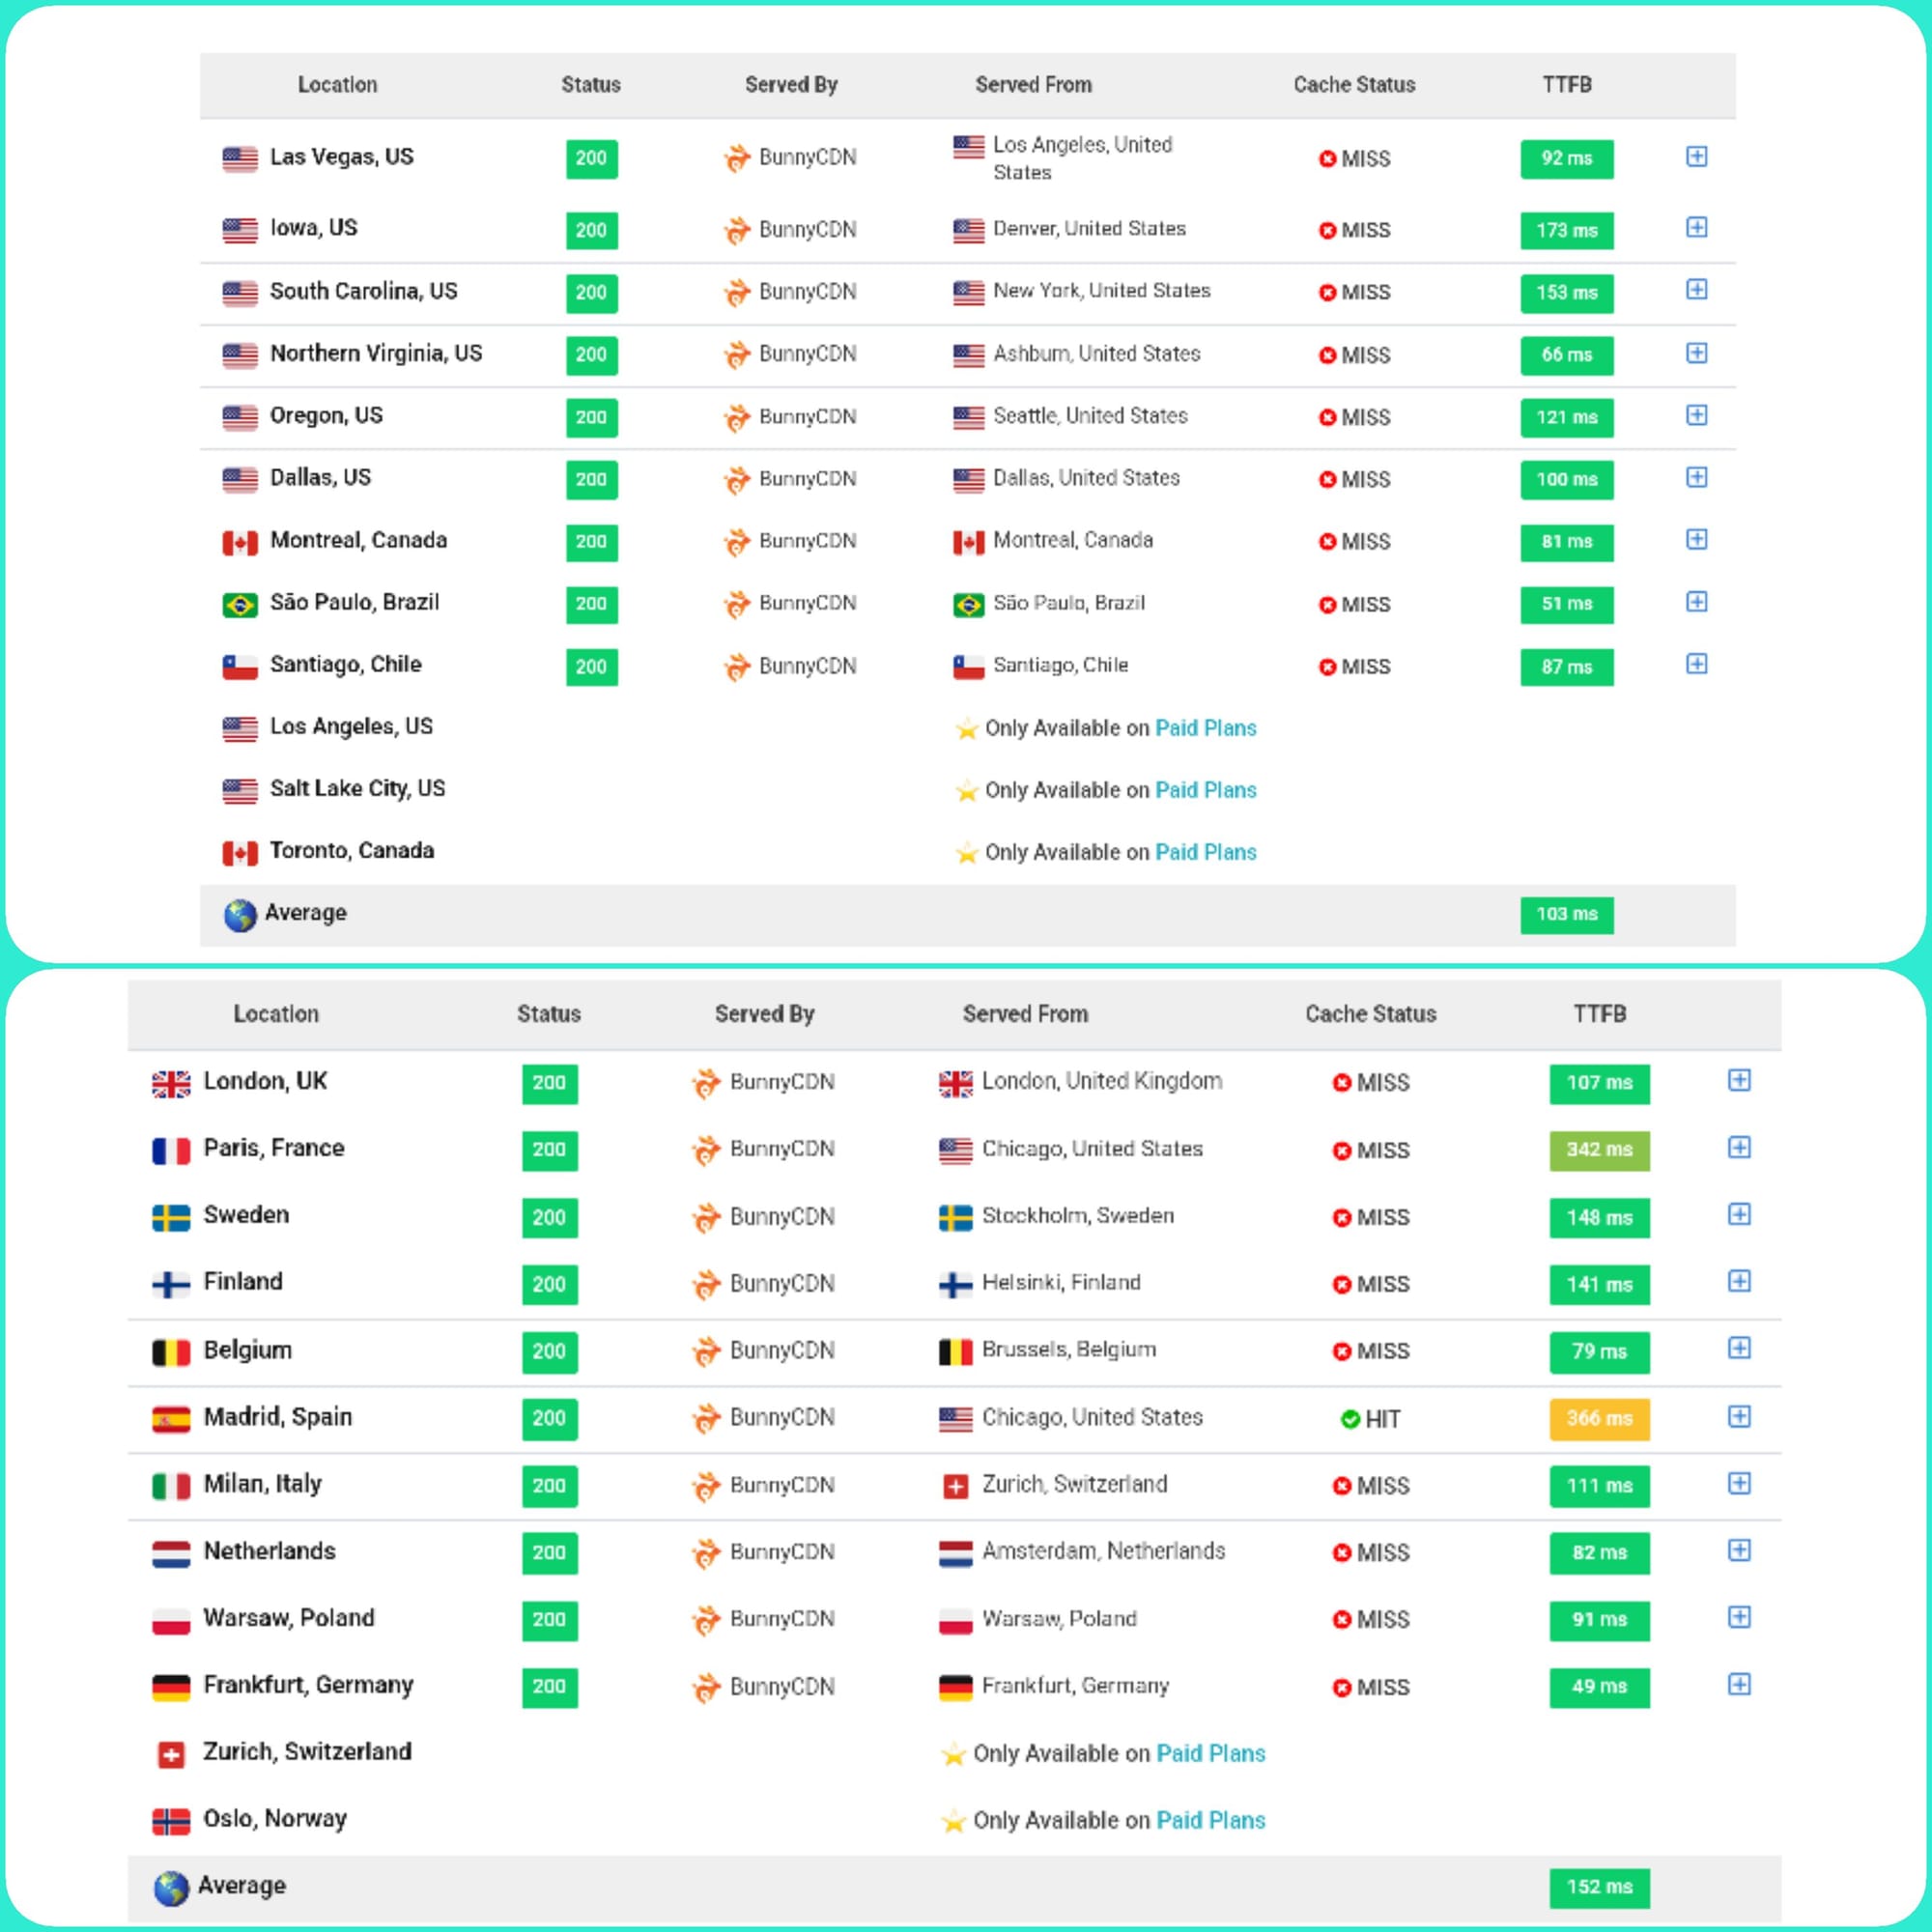
Now, does it work? Well I tested 2 things to determine how good this setup is. First I tested TTFB ( time to first byte) from accross the globe. My origin server is at Amsterdam. And even with cache miss this was the TTFB. Which is already pretty good. And with subsequent ache hits this is going to be lower. This is the benefit of Perma-cache.
I also performed load testing for the site on loadstar. I used 100 bots which continuously loaded some pages of this site. I achieved 17000 page views in a minute with average load time in 100 milliseconds, 1.4 Gbps bandwidth and the CDN absorbed the whole traffic. This is extreme condition, but atleast I know that my site can manage even pretty huge traffic burst if it ever goes viral.
Conclusion
Ghost is pretty fast already. But with the above method you can make your blog much faster. It will reduce your origin server load. You can even get away with a smaller origin server. And if your blog goes viral, your site will stay up. I hope I made the tutorial easy to follow along, but if you have any doubts, comment down below to let me know. And thanks for reading the TechWeirdo.