
Hi, welcome to the TechWeirdo. In this post I am going to show you how I setup a Varnish Cache to Speed up my Ghost Blog. Now, Ghost itself is pretty light weight and works fine in low to medium traffic.
However, as your blog grows and attracts more traffic, you may find yourself looking for ways to improve its speed and handle increased load. This is where Varnish Cache comes in. In this post, we'll explore how to set up Varnish Cache for Ghost blogs, the challenges involved, and the impressive performance gains you can achieve. And after that I took it further and created my own CDN with Varnish.
What is Varnish Cache?
Varnish Cache is an HTTP accelerator designed for content-heavy dynamic websites. It works by storing a copy of the requested web page the first time it's retrieved in Memory, and then serving that copy to subsequent visitors, reducing the load on your web server and database.
Storing Cache in Memory reduces Disk uses and can speed delivery by upto 300 to 1000x. To learn more read varnish-cache.org.
Key Benefits of Varnish
- ✓ Improved response times
- ✓ Reduced server load
- ✓ Increased capacity to handle traffic spikes
Challenges of Caching Ghost Blogs
- Dynamic Content: Ghost generates much content dynamically, making effective caching tricky.
- User-specific Content: Personalized content for logged-in users shouldn't be cached for others.
- Admin Panel: Should never be cached to avoid security and functionality issues.
- Frequent Updates: Require careful cache invalidation strategies.
Special Considerations for Caching Ghost Blogs:
Now to cache Ghost blogs properly in Varnish or even in CDNs ( bunny / Cloudflare ) you need to consider Membership features. So in this setup we will cache all static contents for everyone. Cache all htmls for users who are not logged in. Bypass html caching for all members (logged in). Also bypass membership and admin specific urls like /ghost/ , /members/ and /p/. All cache changes will be applied server side. I made no changes on browser side caching. I will also use a webhook to purge cache when I update anything on my blog.
Getting Started : Install Varnish
Installation of Varnish is very straightforward. Install it using your package manager. I am using Ubuntu and for this use. ( If you followed my guideline for installing Ghost with Cloudpanel then Varnish is already installed. )
sudo apt-get update
sudo apt-get install varnish -y
Now after installation varnish will run with default configuration on port 6081, with 256 MB of Ram. You your VPS have more Ram you can edit the configuration and increase it by using sudo nano /lib/systemd/system/varnish.service
Find this part with -s malloc,512m or 256m and increase it accordingly. I have about 18 GB RAM on my VPS so I set it to 2048m (2 GB). But it should be judicious ammount based on your available system memory. Higher is not always better.
ExecStart=/usr/sbin/varnishd \
          -j unix,user=vcache \
          -F \
          -a :6081 \
          -T localhost:6082 \
          -f /etc/varnish/default.vcl \
          -S /etc/varnish/secret \
          -s malloc,512m
save it and then run sudo systemctl daemon-reload. This will load your updated settings.
Modify Varnish Configuration
Now to configure varnish to cache your Ghost Blog and how to cache you need to modify the default varnish configuration.
Edit the default Varnish config with sudo nano /etc/varnish/default.vcl
Then remove all existing code and copy this below code. ( Don't delete everything if you have other sites using varnish).
Necessary Modifications: Modify the port your Ghost Blog is running. The usual default is 2368. But you should check it beforehand. Change the port value at backend-default in 3rd line.
vcl 4.0;

import std;

backend default {
    .host = "127.0.0.1";
    .port = "2368";
}

acl purge {
    "localhost";
    "127.0.0.1";
    # Add any other IP addresses that should be allowed to purge
}

sub vcl_recv {
    if (req.url ~ "/purge-cache") {
        if (!client.ip ~ purge) {
            return(synth(403, "Not allowed."));
        }
        ban("req.http.host == www.yourblog.com");
        return(synth(200, "Cache cleared"));
    }

    # Cache static files
    if (req.url ~ "\.(css|js|avif|webp|png|jpe?g|gif|ico|svg|woff2?|eot|ttf|otf|json|csv|pdf|mp4|webm|ogg|mp3|wav|flac)$") {
        unset req.http.Cookie;
        return(hash);
    }

    # Don't cache if these cookies are present
    if (req.http.Cookie ~ "ghost-members-ssr" || req.http.Cookie ~ "ghost-admin-api-session") {
        return(pass);
    }

    # Don't cache these paths
    if (req.url ~ "^/(ghost|members|p)/") {
        return(pass);
    }

    # Remove all cookies for other requests
    unset req.http.Cookie;
    return(hash);
}

sub vcl_backend_response {
    # Cache static files and other content in Varnish for 1 year
    set beresp.ttl = 1y;
    # Enable stale content serving
    set beresp.grace = 24h;
    # Preserve the origin's Cache-Control header for client-side caching
    if (beresp.http.Cache-Control) {
        set beresp.http.X-Orig-Cache-Control = beresp.http.Cache-Control;
    }
}

sub vcl_deliver {
    # Restore the origin's Cache-Control header for the browser
    if (resp.http.X-Orig-Cache-Control) {
        set resp.http.Cache-Control = resp.http.X-Orig-Cache-Control;
        unset resp.http.X-Orig-Cache-Control;
    } else {
        # If no Cache-Control was set by the origin, we'll set a default
        set resp.http.Cache-Control = "no-cache, must-revalidate";
    }

    # Add debug headers
    if (obj.hits > 0) {
        set resp.http.X-Cache = "HIT";
    } else {
        set resp.http.X-Cache = "MISS";
    }
    set resp.http.X-Cache-Hits = obj.hits;
}
default.vcl
Enable Varnish Cache
Now to enable Varnish and start at system reboot use these commands
sudo systemctl start varnish
sudo systemctl enable varnish
Point Nginx to Varnish
After configuring varnish we now need to send our web traffic via varnish. So you need to point your webserver i.e Nginx, Caddy or Apache etc to your varnish instade of Ghost.
If you have installed ghost using ghost official guide cli, then you can find your site by using cd /etc/nginx/sites-enabled and the. Use ls to list your site and use sudo nano yoursite.com to edit the nginx.
If you followed my guide with Cloudpanel then you need to modify the vhost
In both cases you need to set your proxy_pass http://127.0.0.1:port; to varnish port i.e. 6081 from your Ghost port 2368 or {{ app_port }} in Cloudpanel.
It should look like proxy_pass http://127.0.0.1:6081;
Restart Nginx
Next restart Nginx to use new configuration
sudo nginx -t
sudo systemctl restart nginx
Now, Varnish sits between your Ghost Blog and Nginx and silently cache requests in RAM to serve them to subseuent visitors without touching you ghost backend unless necessary.
Test if Varnish is working
To test varnish you need to visit varnishstat using
sudo varnishstatAlso open your Ghost Blog in incognito tab so that you are not logged in. Refesrh the page couple of times.
You will see something like this where initially there will be some cache misses, but after that you would see number of cache hit increases. Use some tools like Global ping to send multiple requests at the same time.

Purge Varnish cache
We are successfully caching our blog in varnish but that means we need to purge the cache to update the blog when we make any changes. I have set this up already in the varnish code.
sub vcl_recv {
    if (req.url ~ "/purge-cache") {
        if (!client.ip ~ purge) {
            return(synth(403, "Not allowed."));
        }
        ban("req.http.host == www.domain.com");
        return(synth(200, "Cache cleared"));
    }
To test wheather cache purge works or not. Use curl http://127.0.0.1:6081/purge-cache. You should receive a Purged response.
Automatically Purge Cache from Ghost
You are not going to use curl command everytime you update your blog 🥲. Luckily Ghost supports Webhooks in custom integrations.
Go to settings > Integration > Custom Integration and add a integration.
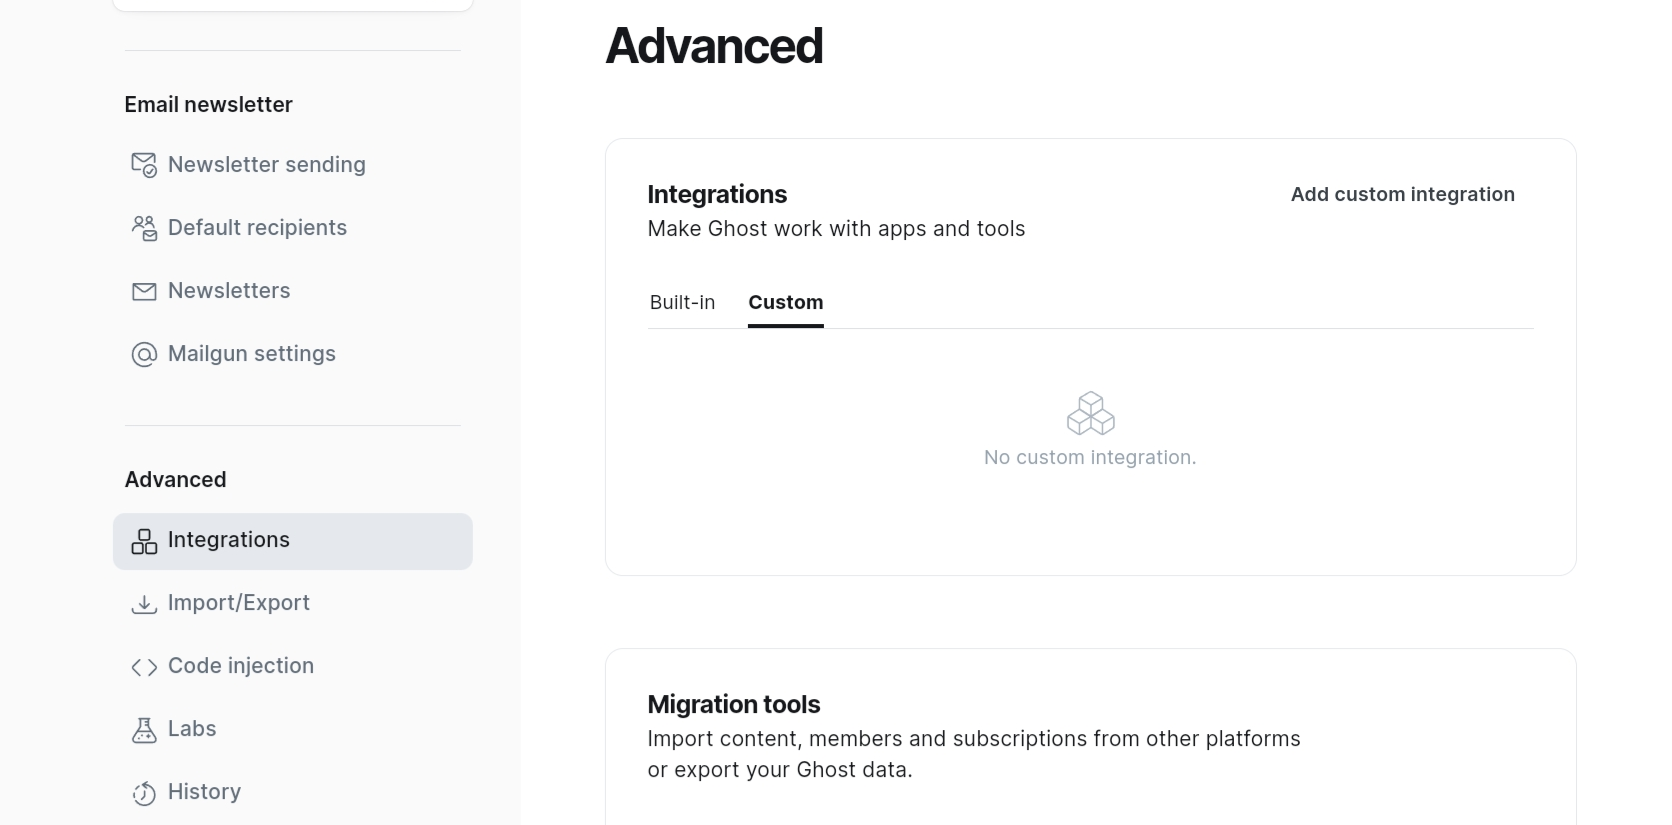
Then Give it a name > Save > Add a web hook. Select site change (rebuild) to purge cache and set the cache purging url

Add and save it.
That's it now Varnish is caching Ghost and Ghost is purging the cache when needed.
 Shounak Pal

Stress testing Varnish and seeing the benefit live
Now why go through this process of using varnish? Is it actually beneficial? So I load tested it and the results were very promising. For the load test I used loadstar where I use multiple bots to repeatedly load my website in browser to simulate real world traffic spike.
My server setup (blog used offtheor.com):
- 3 Core 18 GB Ampere A1 VM with NVMe SSD. (Free tier Oracle Cloud) At Amsterdam.
- No CDN used
Test setup (loadstar)
- 100 Bots each time
- One run with Varnish Off second run with Varnish On
Test Summary
Varnish OFF (Full Load)
- Avg Response Time: 2.60s
- P50 Response Time: 2.53s
- P90 Response Time: 4.43s
- Hits: 46,977
- Transaction Throughput: 28.5 pages/sec
Varnish ON (Peak Load)
- Avg Response Time: 0.743s
- P50 Response Time: 0.585s
- P90 Response Time: 1.59s
- Hits: 103,243
- Transaction Throughput: 92.0 pages/sec
Performance Improvement
- Average Response Time: 71.4% faster
- P50 Response Time: 76.9% faster
- P90 Response Time: 64.1% faster
- Hits Handled: 119.8% more
- Transaction Throughput: 222.8% higher
Low Load Comparison
Under low load conditions:
- Varnish OFF: 0.296s avg response time, 5.9 pages/sec
- Varnish ON: 0.281s avg response time, 10.9 pages/sec
Even at low load, Varnish improves performance with 5.1% faster response times and 84.7% higher throughput.


 Shounak Pal
Conclusion
As you can see adding Varnish to your Ghost Blog definitely helps a lot specially if you are not using a CDN. In my case it almost trippled the server's traffic capacity and made the user experience better. The setup is not very easy, but hopefully I was able to explain the steps well. In case of any difficulties please comment down below and let me know. Thank you for reading TechWeirdo. If you like it, please share and subscribe.