Hi, folks welcome to the TechWeirdo. In this topic we are going to dive into exposing selfhosted services securely to the world without opening any port on your network, static IP or ddns and behind a CGNAT. Now there is a simple straightforward solution already Cloudflare Tunnel and it works great. But in some cases you may not want to use Cloudflare. Specially you have to add them as your DNS provider(which is good too), and they don't allow video hosting or large file hosting as per their TOS. So they might ban you if you try to use Jellyfin, Plex or next cloud.
So in this post we are going to build our own cloudflare tunnel alternative. To do this you need-
- A free or cheap VPS. You can get a extensive list here. Get one with high allocated traffic.
- A Tailscale account.
What is Tailscale ?
Tailscale is a Zero-Config VPN. Under the hood it is a wireguard VPN and it just creates a secure tunnel between two devices on the same Tailscale network. With vannila Wireguard it is pretty hard and laboursome to do this. What Tailscale does is they operate a master server which helps connecting the two devices none of the data goes through Tailscale but it works almost like a magic (on day one I used it, it blew my mind). If you want to learn more head over to this Tailscale's blog. Tailscale master server is required to manage this mesh network, but you can also selfhost the master server with Headscale (Not really recommended).
Let's begin
The setup is pretty straightforward. I am assuming you already have a VPS. If you don't, create one from this extensive list. Some noteworthy mentions are, GCP (200GB free) and OCI's (10TB free) free tier, Hetzners's shared vcpu (20TB /3.89 euro), DigitalOcean (500GB/ 4USD). Choose a data centre that is nearest to your server btw.
Step 1: Install Tailscale in all the machines you are going to connect together
Tailscale supports a wide range of devices, download and install it atleast on the VPS and on your local server that you want to expose. You can also install it on your phone or computer to access your home network from outside. Do note that you DO NOT need to open ports on your local machines. Only open the required ports only (mostly 80, 443 and 81, for nginx proxy manager) on your VPS. Head over to the Tailscale download page.

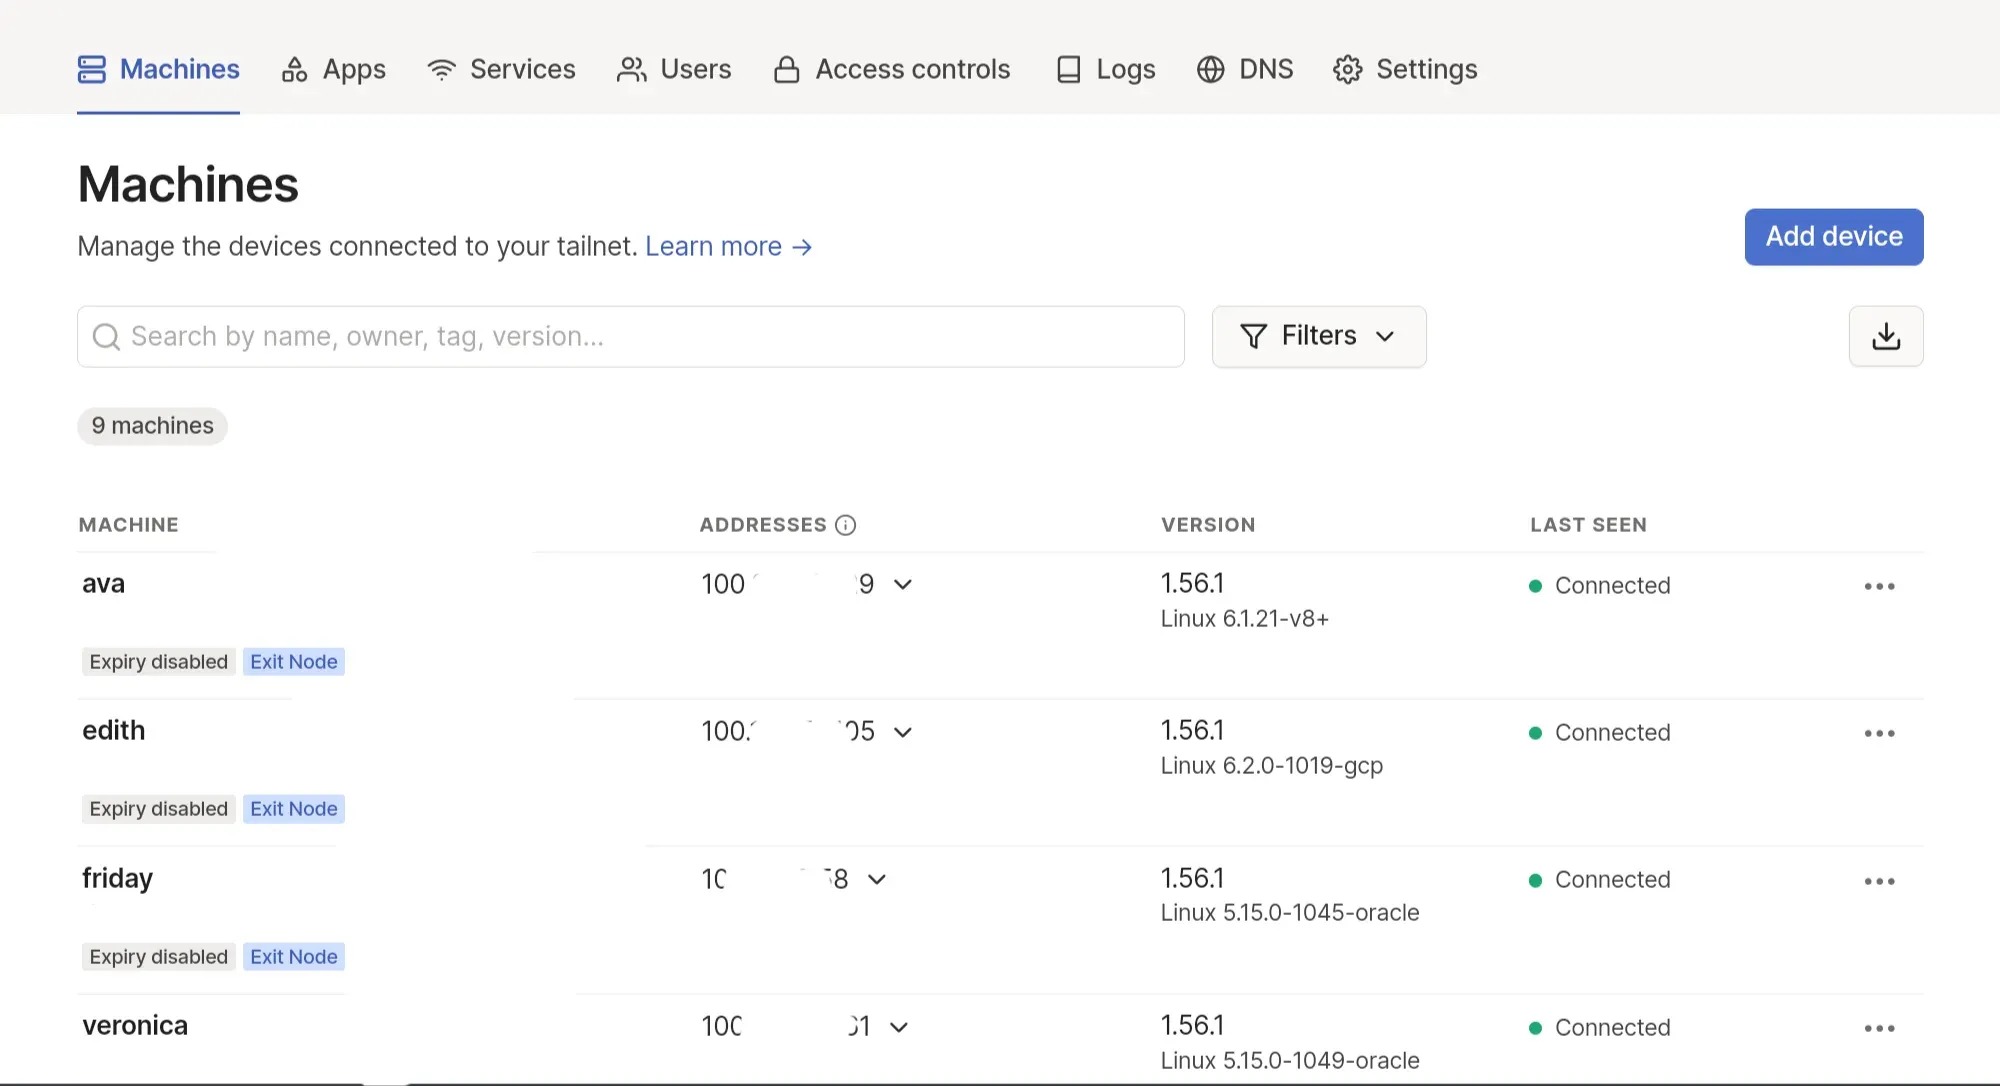
After installation visit the admin console. You will be able to see all your connected devices with their tailscale assigned IP addresses. These IP addresses are accessible only on your tailscale network, not from the internet. Check the connection between your homelab and your cloud VPS by pinging the machines from one another with their Tailscale IP addresses. Also disable key expiry by clicking on the right 3 dot menu of each machine.
Now let's expose some services to the internet.

Step 2. Install Nginx Proxy Manager
I chose Nginx Proxy manager for this step but you can use default Nginx or any other reverse proxy manager for this job. The goal is basically attach a domain or subdomain to the specific port of a perticular service to expose it on that subdomain. Follow the official instructions to install Nginx PM. You do need to install docker and docker-compose first on your VPS. Make sure you have opened port 81, 80 and 443 on your VPS.

Check if you can access your proxy manager at http://your-vps-public-ip:81 Login with the default user id: admin@example.com and password: changeme . And you should change it.
sudo su
iptables-save > /etc/iptables/rules.v4
exit
Step 3: Setup DNS record
Go to your DNS provider and create DNS records for the individual services. For example, if we want expose Jellyfin. Create a DNS record like jellyfin.yourdomain.com and assign the VPS public IP address. If you are using cloudflare then Do not turn on the orange cloud in Cloudflare, as we are trying to avoid the thing in the first place. If it is a website or primarily html files no problem but for large file serving it violates Cloudflare's TOS.
Step 4: Setup Reverse Proxy with Nginx Proxy Manager
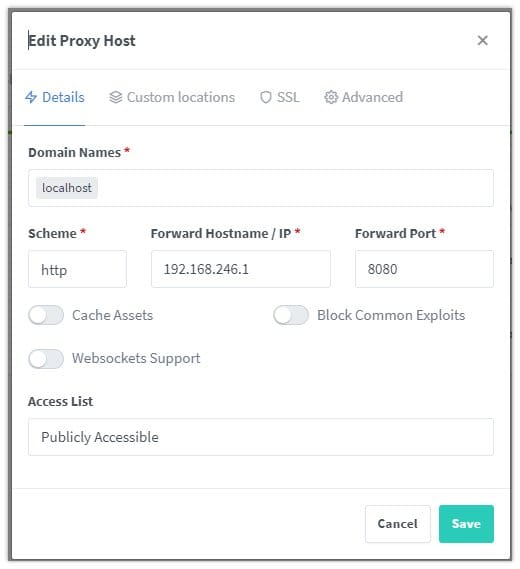
Log into Nginx Proxy Manager, it should be running on port 81 and on the dashboard you will find an option to create reverse proxy. Insert the domain you want to use for your service and point it to your homelab's Tailscale IP address and the port (for example Jellyfin runs on port 8096 usually, so use that to expose Jellyfin) on which that specific service is running. Also go to the SSL and get a free Let'sEncrypt SSL.

And that's it. Now you have bypassed CGNAT without using Cloudflare Tunnel.
So this is where I am ending this post today. If you find it helpful, face any challenges or have any question, please comment down below. Thank you for reading TechWeirdo.


