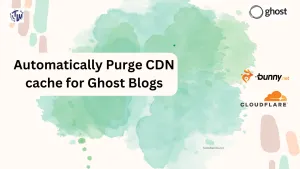
Hi, welcome to The TechWeirdo. In some previous posts I showed you how to speed up your Ghost Blog massively by full page caching it with both Bunny CDN and Cloudflare CDN. But that adds another task to your publishing workflow, you have to purge CDN cache everytime you change something on your site publish a new post or to show the latest comments. Which is not ideal. So in this post I am going to automate this cache purging so that you don't have to think about it again. Just set and forget.
The steps to follow
Now to achieve this, we need to do 2 things. First we need a small cache-busting tool which when triggered will purge the cache from the respective CDNs. And second, a way to trigger the app when something changes on the site.
Luckily the second one is already implemented in Ghost with Custom integrations. We can easily send get request to any url endpoint when the site changes. So what we need to do is only to create the tool. For that I am choosing Cloudflare Workers just because of the convenience. But you can use anything else. The only thing is it will be triggered with a URL endpoint.
Deploy this code on Cloudflare Workers
I chose cloudflare workers because I found it to be the best choice for myself. If you are using Cloudflare CDN already then it will just take only 5 minutes. If you are using Bunny CDN and don't have a Cloudflare account you can signup for a free one. You DO NOT need to add your domain to Cloudflare. Every cloudflare worker come with their own subdomains, which is all we need.
If you are new to Cloudflare and Cloudflare workers follow this Guide. And then copy the code for your CDN from below and deploy it on Workers.
 Shounak Pal
CDN Cache Purge Control
Click on the buttons below to switch to your active CDN provider to get the code.
Quick Guide
This above code can be used to purge multiple sites on the same account by changing the Zone id for Cloudflare and the PullZone id for Bunny CDN.
Finding the API keys, Zone id or PullZone id etc
Cloudflare CDN:
For Cloudflare CDN you need to set the following things in your code itself
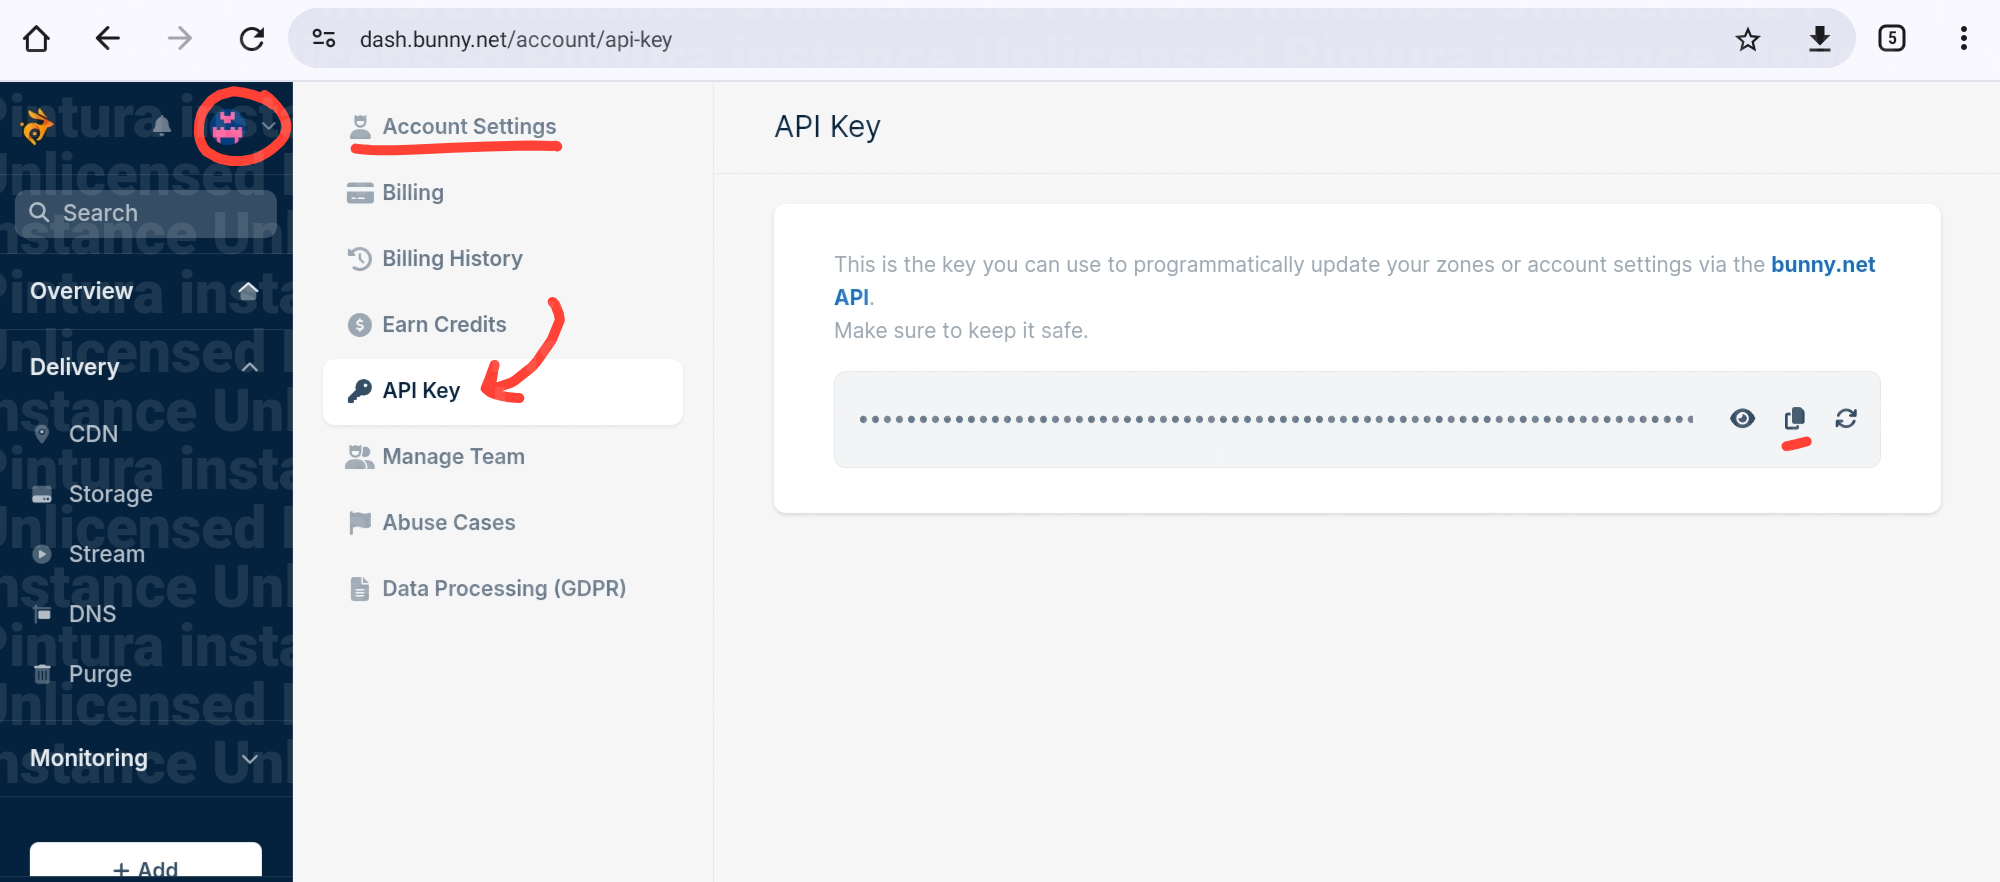
- Cloudflare API Key: You will find your API Key in your profile. Use the Global API Key. See the below image.
- Cloudflare Email: The email address associated with your Cloudflare account.


After you deploy the worker you will get a URL which looks like random-name.workers.dev . To purge the cache you need to send a request like to the url end point of your worker like https://your-worker-subdomain.workers.dev/purge-full-cache?zone=ZONE_ID_TO_PURGE . You can get the zone id by visiting your website dashboard in cloudflare and look on the right-hand side column.

Bunny CDN:
For Bunny CDN users you need to set the api key in your code. And again by changing the pull zone id you can purge different website on the same account. You also need to set the storage zone password for the zone you are using for your permacache. Otherwise old parmacached content will accumulate and increase your storage usage.

- To get the Access Key: Click on the logo on left sidebar. You will see your account name in the drop-down. Click on the drop down. On account details you will find the option for API keys.
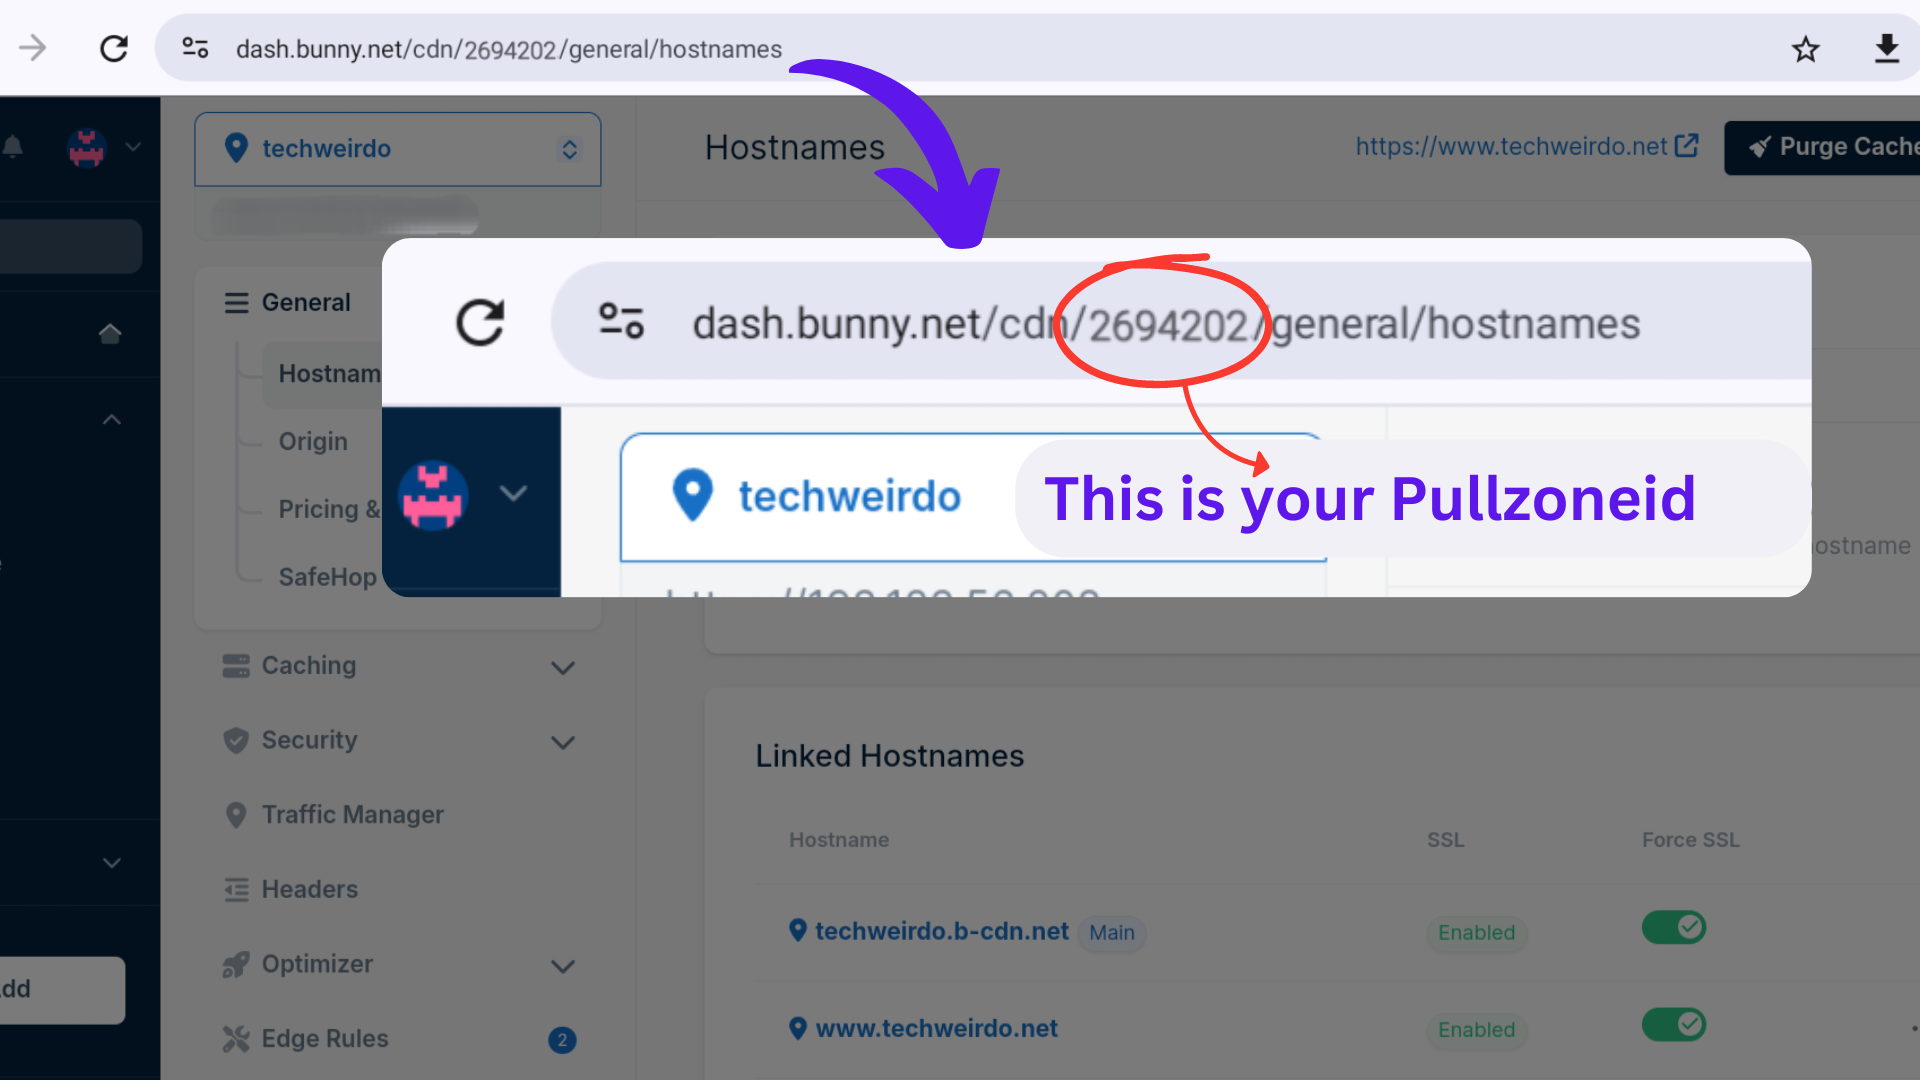
- Get the Pull zone id: To get the PullZone id, go to CDN and click on the PullZone. On the url bar you will see a number. That is your Pull zone id. For details see the below image.
- You can get the password in the storage > Your Zone > FTP & API access.
That is all we need to do with cloudflare workers. Now, you can also use something else like a python script or anything instade of workers. I find it more convenient.
Setting up the Automation at Ghost
Now that we have our URLs to trigger the cache purging we just need to tell the Ghost to trigger the URL when anything changes on the site. To do this - Go to settings > Integration > Custom Integration and add a integration.

Then Give it a name > Save > Add a web hook. Select site change (rebuild) to purge cache and set the cache purging url i.e. the worker URL with the zone parameter.

Add and save it.
And that's it. Set back and relax. Now your site cache will get automatically purged from the CDNs when anything changes like, you update a post, or change any design, or when someone comments on your site. You don't have to think about it again.
Shounak Pal Shounak Pal
Conclusion
I hope you were able to follow the steps easily, I tried to simplify the process. If you face any issues comment down below and let me know. I would try to answer as soon as possible. You you find this post helpful consider subscribing for free, share it. Thank You for reading The TechWeirdo.